Discover, Learn and Explore
Build With LoRa
Tech Journal
 Pioneering the Future of Energy with DLMS and LoRaWAN
During a panel session at a recent LoRaWAN Live! event in Orlando, moderated by Semtech, four prominent companies shed light on the application of Device Language Message Specification for smart electric metering in Brazil.
Pioneering the Future of Energy with DLMS and LoRaWAN
During a panel session at a recent LoRaWAN Live! event in Orlando, moderated by Semtech, four prominent companies shed light on the application of Device Language Message Specification for smart electric metering in Brazil.
The Future of DLMS Over LoRaWAN
Posted by Martyn Stroeve on July 24, 2023
Pioneering the Future of Energy with DLMS and LoRaWAN During a panel session at a recent LoRaWAN Live! event in Orlando, moderated by Semtech, four…
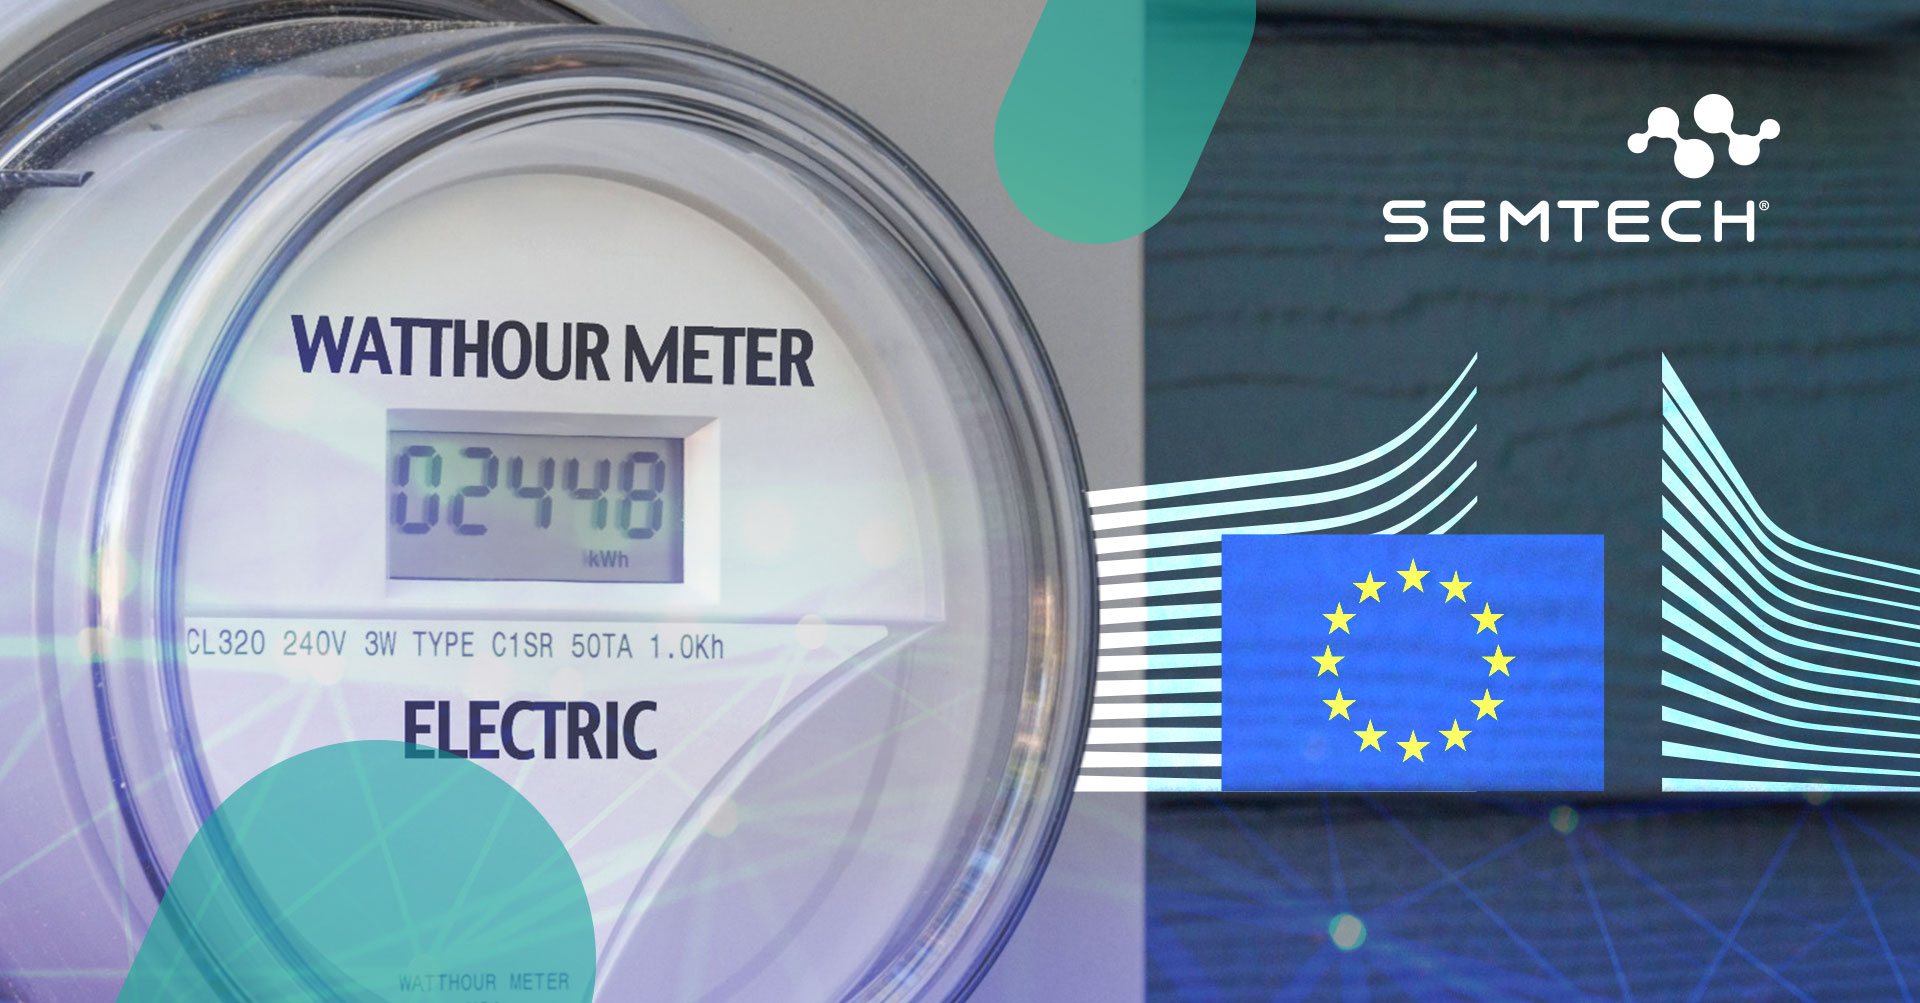 Understanding Smart Metering and LoRaWAN® Interoperability Standards in the EU
LoRaWAN, with the support of key metering standards DLMS and M-bus, is now a key component to compliance and interoperability among smart metering vendors for European utilities.
Understanding Smart Metering and LoRaWAN® Interoperability Standards in the EU
LoRaWAN, with the support of key metering standards DLMS and M-bus, is now a key component to compliance and interoperability among smart metering vendors for European utilities.
Interoperability of Smart Metering Data With Use of Standards is the New Rule in European Union
Posted by Rémi Demerlé on July 18, 2023
Understanding Smart Metering and LoRaWAN® Interoperability Standards in the EU LoRaWAN, with the support of key metering standards DLMS and M-bus,…
 The LoRaWAN 1.0.4 Specification in Depth For End Device Developers course is designed to provide a comprehensive understanding of the LoRaWAN 1.0.4 specification, crucial for efficient LoRaWAN implementation and end device development. The course is divided into six chapters, or books, each focusing on a specific aspect of LoRaWAN implementation.
LoRaWAN 1.0.4 Specification in Depth For End Device Developers
Posted by Steven Hegenderfer on July 11, 2023
The LoRaWAN 1.0.4 Specification in Depth For End Device Developers course is designed to provide a comprehensive understanding of the LoRaWAN 1.0.4…
 Semtech is pleased to announce the availability of the LoRa Calculator on the LoRa Developer Portal.
LoRa® Calculator Now Available On LoRa Developer Portal
Posted by Steven Hegenderfer on June 29, 2023
Semtech is pleased to announce the availability of the LoRa Calculator on the LoRa Developer Portal.
 Why Choose the Helium Network for IoT Solutions
The Helium Network is a platform for systems integrators and other who want to get LoRaWAN® -based IoT solutions to market quickly without investing in a lot of infrastructure.
Why Choose the Helium Network for IoT Solutions
The Helium Network is a platform for systems integrators and other who want to get LoRaWAN® -based IoT solutions to market quickly without investing in a lot of infrastructure.
How to Quickly Deploy IoT Solutions on the Helium LoRaWAN Network
Posted by Steven Hegenderfer on June 14, 2023
Why Choose the Helium Network for IoT Solutions The Helium Network is a platform for systems integrators and other who want to get LoRaWAN® -based…