documentation
Set Up the Semtech LoRa Edge™ Tracker Reference Design
Note
The Semtech LoRa Edge™ Tracker Reference Design is shipped in airplane mode to ensure that is does not transmit during transport.
Install the LoRa Edge Config Mobile App
Installing LoRa Edge Config on your mobile device allows you to configure your Semtech LoRa Edge Tracker Reference Design.
1. Download, install, and run LoRa Edge Config, which is available through Google Play for Android devices and through the App Store for iOS devices.
-
Accept the Terms and Conditions.
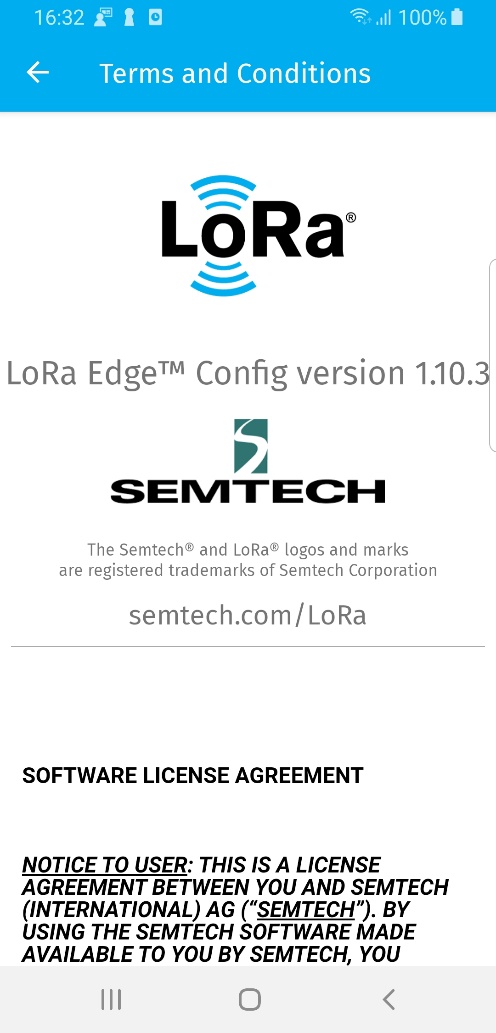
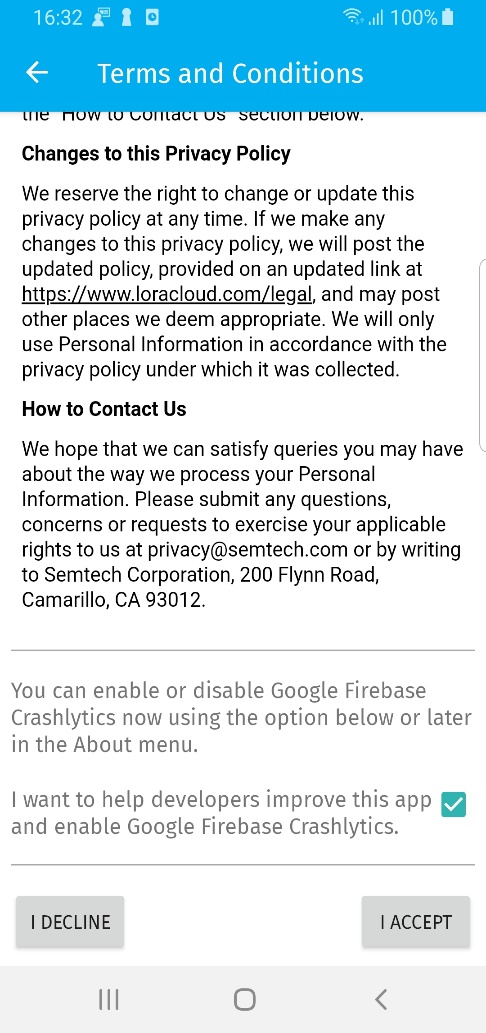
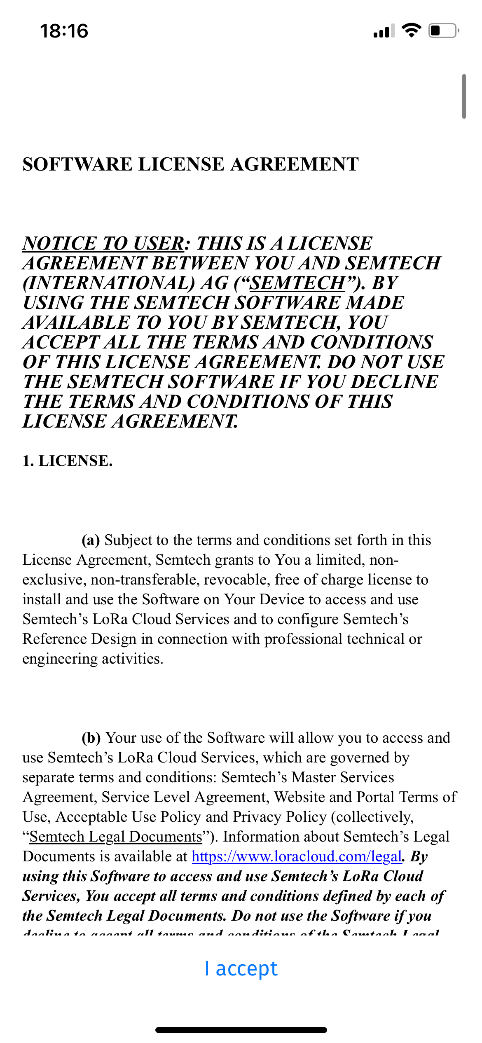
Figure 27: Terms and Conditions (Android on the left, iOS on the right)
Set Up LoRa Edge Config to Retrieve Position Assistance Data
On the Almanac URL pop-up window, select the default Almanac URL or change to a different URL:
To use the default Almanac URL (https://dms.loracloud.com) tap Later.
To change the Almanac URL, tap Change Now, and then enter the new URL.
Once the token is set, the almanac is automatically fetched and installed.
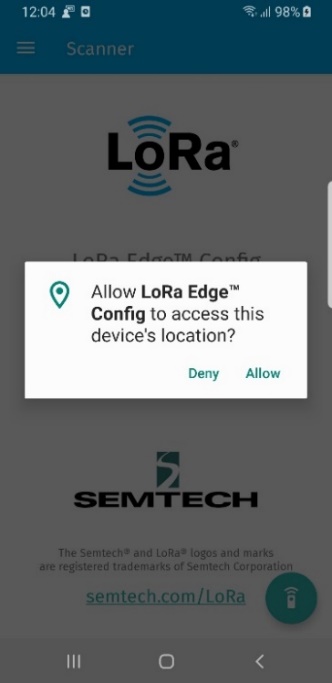

Figure 28: Almanac URL for Android (left) and iOS (right)
Before using GNSS Position Assistance data, you must connect your LoRa Edge Tracker Reference Design to the LoRa Cloud™ Device & Application Services.
Launch LoRa Edge Config, and allow it access to your photos and media.
Pair the LoRa Edge Tracker Reference Design over Bluetooth
Once a LoRa Edge Tracker Reference Design is in pairing mode:
Tap the Pair button the on main screen of the LoRa Edge Config app.
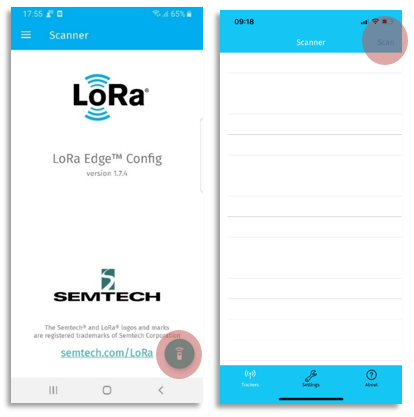
Figure 29: Pair the LoRa Edge Tracker Reference Design with LoRa Edge Config (Android on the left, iOS on the right)
Allow the app to access the location of your mobile device.
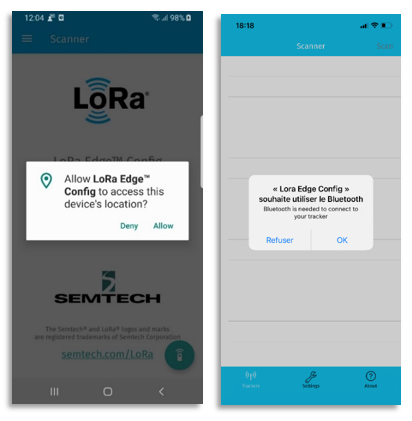
Figure 30: Allow LoRa Edge Config to Access this Device’s Location (Android on the left, iOS on the right)
This should quickly pair your mobile device with your LoRa Edge Tracker Reference Design. By default, only devices in pairing mode with the prefix SMTC_TKR_ are displayed. This can be changed in the Settings.
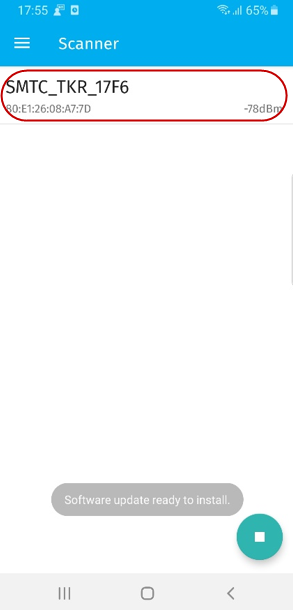
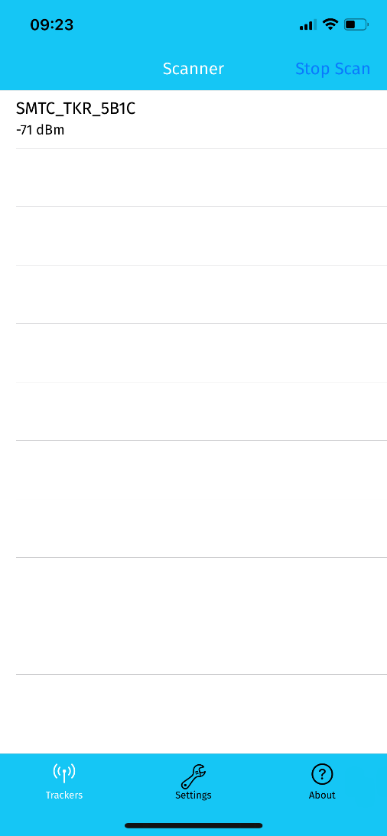
Figure 31: Paired Device Listed on Scanner Screen (Android on the left, iOS on the right)
Claim a LoRa Edge™ Tracker Reference Design
Before the LoRa Edge™ Tracker Reference Design can be claimed using the LoRa Cloud Device Join service, you must have a LoRa Cloud account. To set up your account, in a web browser, navigate to https://www.loracloud.com and click Get Started.
Figure 32: LoRa Cloud Portal Get Started
An option to Log In or Sign Up displays. If you don’t already have an account, sign up for one using your email address and a strong password.
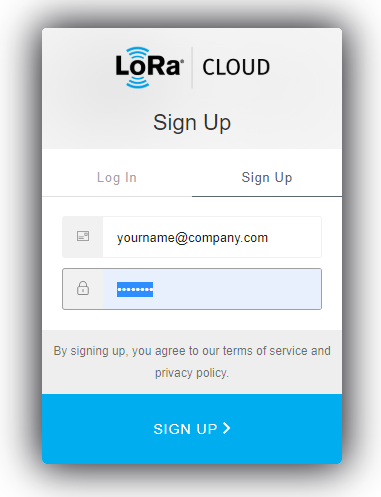
Figure 33: LoRa Cloud Sign Up
You will get a confirmation email for your new account. In the email, click the confirmation link to open the Log in page. After logging in, accept the Terms & Conditions of Use to activate your account.
To claim a device:
Open a web browser and navigate to https://www.loracloud.com.
Click Get Started and then select LoRa Cloud Device Join.
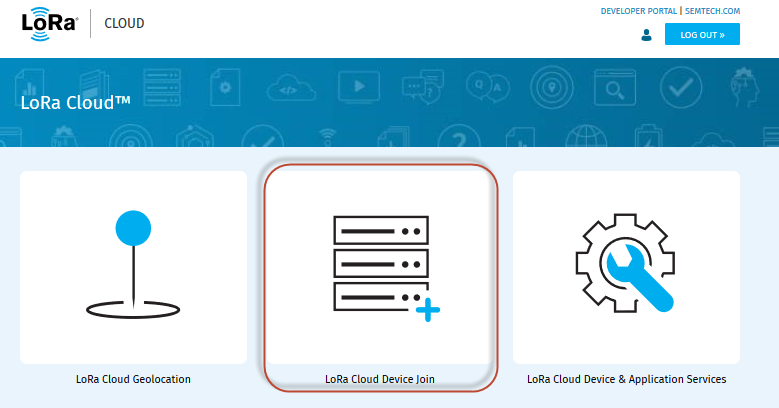
Figure 34: LoRa Cloud Device Join Option
In the left navigation pane, click Network Servers.
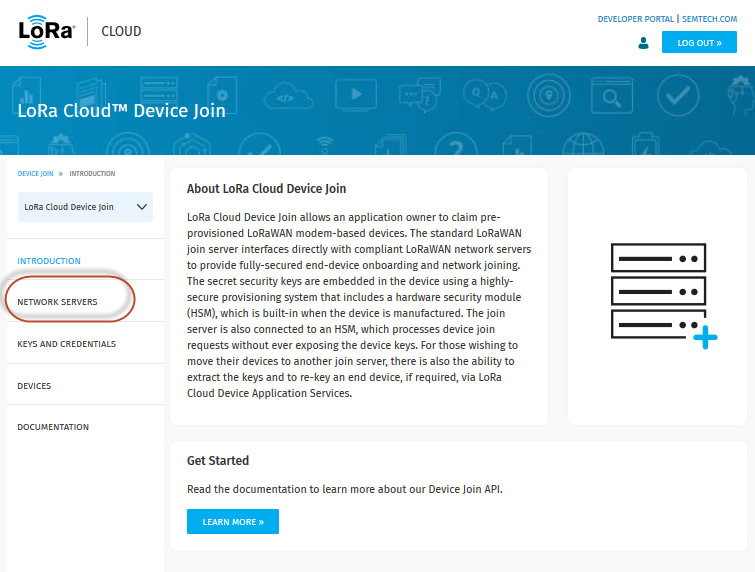
Figure 35: LoRa Cloud Device Join Service
To create an Application Owner, click Manage Owners.
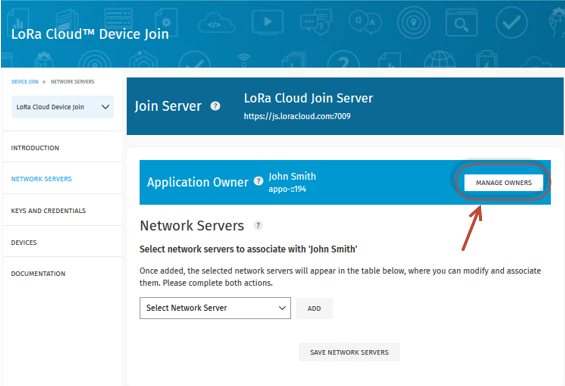
Figure 36: Application Owners - Manage Owners
On the Manage Application Owners screen, enter the name of the application owner and click Create a New Owner.
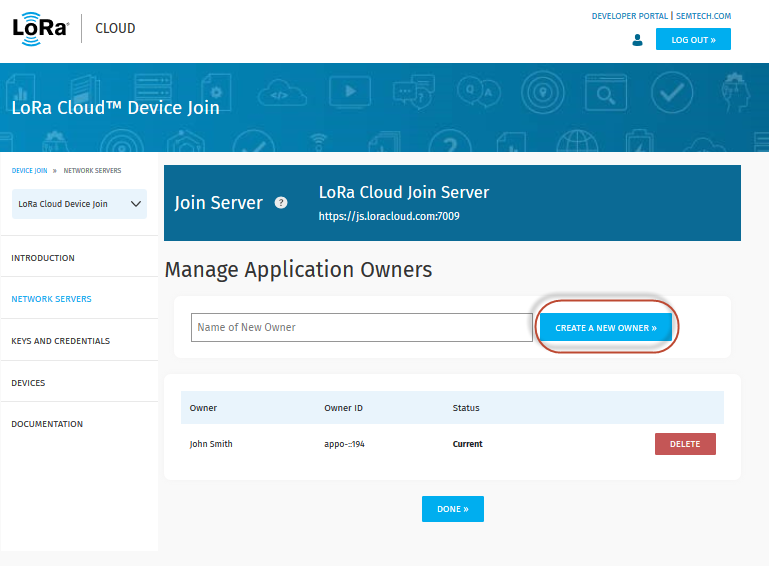
Figure 37: Create a New Owner
In the left navigation pane, select Devices.
Note
If no application owners have been created, the Devices option is not visible.
Under the Devices header, there are two options: Claim Individual Device and Bulk Upload (CSV).

Figure 38: LoRa Cloud Join Server Device Claim Options
8. If you select Claim Individual Device, the following form displays. You can get the required information for each LoRa Edge Tracker Reference Design directly.
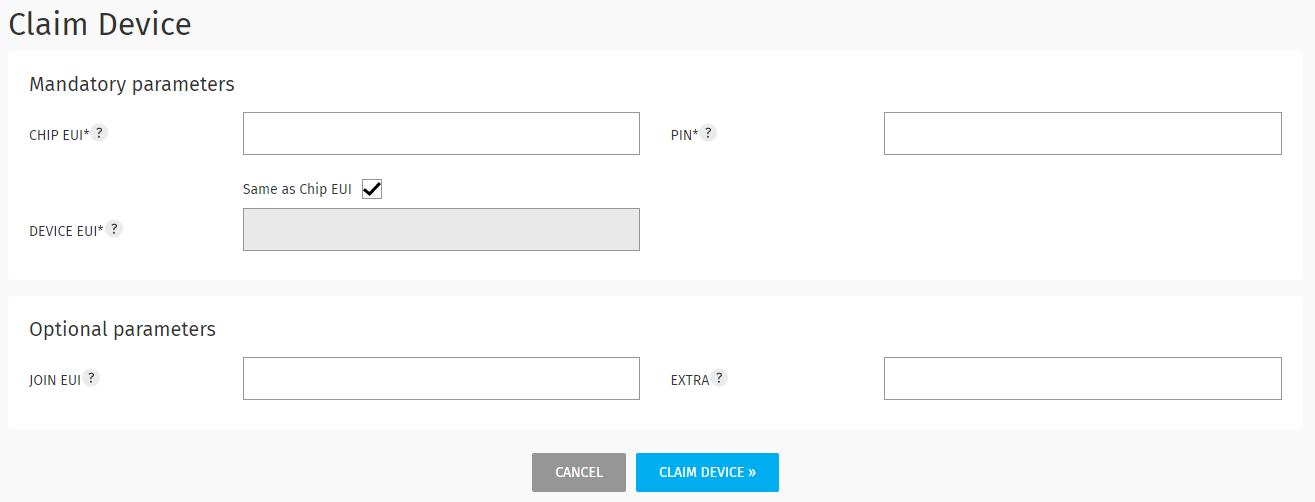
Figure 39: Claim Device Form
Enter the Device EUI and the PIN (Claim) retrieved from the tracker and click Claim Device. If the Device EUI and PIN have a match on the LoRa Cloud join server, the device is added to your list of available devices.
Alternatively, you can click Bulk Upload (CSV) to upload a CSV file with the same information (for each device you are claiming) that is required by the claim device online form (above): Device EUI, PIN, Chip EUI, Join EUI, EXTRA.